Showing posts with label stormcloak. Show all posts

Saturday, March 23, 2013

Stormcloak Soldier Full Body


I'm working on editing my photoshoot for this costume as well as a ton of illustrative work, so in the meantime, here's me wearing the full, finished costume!

I also made a cosplay.com profile for this costume.

Sunday, March 17, 2013

Stormcloak Armor

 Finally, the Stormcloak armor.


Again, since the toning in Skyrim is desaturated, I used a more vibrant cloth than you see in the reference. The jerkin is made from faux leather as are all the belts and pouch. The chainmail parts are just sleeves that are linked across the chest and back, since you only really see the chainmail on the arms anyway. I sewed some leather cord around the arm holes. The blue scarf/sash is a bit tricky to wear because it doesn't want to stay in position too much. I'll probably put in some safety pins when I wear it to a con next.


The gloves are very comfortable. They take a while to get on though, what with the belts. I put everything together except for the gloves which were bought.


The boots are really nice. Really warm too! I used some general purpose cosplay boots as a base and then built the rest around them. The shoe part is suede sewn with leather cord, and the padding is craft foam covered in faux leather.


Here you can see how the jerkin started out. It's lined with wool which was especially nice for my winter photoshoot. 


The pattern on the sash was done in one layer of fabric paint using a stencil.


All done! But doesn't look like it's seen years of wear so...


I used scissors and sandpaper to weather it.


Here's the two finished sleeves.


The fur was actually made from thin fur ribbon strips that they sold in a roll at Jo-Ann's, so I had to sew them together to make bigger pieces, like those seen all the way around the boots.

My next post should be pics from the shoot!


Wednesday, March 13, 2013

Iron War Axe


Very excited to show you my work on the axe for my Stormcloak costume. It was tough to decide specifically what weapon to make from the game. Since it was to accompany my shield, two-handed weapons were out of the question. The concept art for the costume depicts the Stormcloak with a sword, but I really felt an axe better fit a Nord and Nord culture, as well as the traveling Stormcloak soldier. It's got that nice hammered texture and looks like it was made quickly for outfitting a soldier, which I liked.


Here's the finished project. The handle is made of wood, but the axe head is fiberglass over foam using the same process as my shield.


I found a nice branch in my backyard that had the correct shape needed. I sawed off the ends and sawed/sanded off the bark as it was very loose and wouldn't be good for the finished prop as it was.


I continued to sand it to fit some PVC which would be used as the cap for the axe.


Since the branch had fallen off a tree some time ago, I wanted to strengthen it to make sure it could take a bit of abuse as a prop (not that I'd be really hitting things with it :P). So I used wood hardener along the entire length.


I made some approximate measurements from the in-game render to draw out the shape of the axe head on foam.


Here you can see some of the sanding process.


I used an exacto to carve out the edges. I didn't focus on any of the texture yet, just creating the base shape to work from. I sanded the interior edge of both pieces to allow them to fit the PVC.


Like the shield, the foam here was covered in 3 layers of masking tape to protect it from the resin.


After applying the fiberglass with an extra layer of resin to work into, I used my trusty dremel to create that hammered texture. I also used the dremel to carve into the handle to regain that barky texture, and used a dark ebony wood stain to match the hue seen in the reference. I glued the handle on with hot glue, which I also used to seal off the top. It was painted with chrome spray paint, semigloss clear, and a bit of black and burnt sienna acrylic for the rust and weathering. The final step was sewing on the faux leather grip to the handle.

I'm very happy with the finished product. I only kinda wish it really was made of metal so it would make a cool clanking sound when I hit my shield with it!

Monday, March 11, 2013

Windhelm Shield


For my Stormcloak costume, I really wanted to make this shield. I love all the shields that represent the different holds, with their different colors and emblems. A lot of the Stormcloaks that go to war actually use hide shields and the like, since this is more of a guard's shield. But I couldn't pass this up, I love the bear design. Plus, it's the symbol of not just Windhelm, but the Stormcloaks as well. And when I get around to making the guard's helmet, I can go around as either a guard or a soldier.


So here's the finished piece. It's all fiberglassed over, and carved to look like wood; it isn't actually made of wood. That keeps it nice a light. I used a more brilliant blue than in the reference because the in-game graphics have more desaturated and blue overtones to set the mood of the game, which I can replicate in my photoshoot.


The back of the shield, painted to look like wood, with a comfortable leather handle cover, made from the same faux leather I used for the rest of the costume.


And here's a closer detail shot.

Alright, onto how I made it!


 Here's my friendly materials. The base was made of a single 1/2" thick piece of insulation foam, about 20" in diameter. There's 2 cardboard rings at the same size, width being 1". Finally a strip of thicker cardboard to go all the way around the edge which is about 3/4" wide. I glued these all together.


After that, I used 3 layers of masking tape all the way around to properly seal off the foam and protect it from the resin. You can also see the axe in this pic; I'll talk about that in the next post.


Here's the shield and axe fiberglassed over. I followed up with a layer of plain resin so I would have a surface to sand and carve into without ripping up the fiberglass cloth.


Since I only had 1/2" thick insulation foam, I glued two pieces together for the handle. I traced out the shape I needed, about 10" long, then cut it out and carved/sanded it into shape. Again, wrapped the whole thing in 3 layers of masking tape.


I stuck the handle on directly using fiberglass resin, and made sure there was enough covering over it in order to keep it strong.


Unfortunately I'm missing a few photos here - from the carving process, but I think it comes out more clearly when painted anyway. Using a dremel, I carved into the body to give it a wood texture as best I could. I used more rounded bits to carve into the rim to give it the hammered looking texture, as if the metal rim had literally been pounded at a forge. My little dremel had a lot of trouble getting through so much resin that I only got about 20 min. tops out of the battery before I had to recharge it again. I probably wore down the battery a lot on the project ^^;. But this process literally took a few months of work off and on. Once the shield was cleaned, I primed it all the way around with gray primer. Then I used a dark gray automobile spray paint with an extra bit of chrome shimmer for the metal, covered by a layer of semi-gloss clear to seal it (used on the handle too). Then a base layer of black acrylic on the wood, both sides.


With the black layer in place, I built up the brown wood tones. The black underneath was used to accentuate shadows. I mixed several different browns to build up the wood, using a cut piece of firewood I had for reference.


On the front of the shield I painted the browns all the way across, even though a lot of the front is blue. The reason is, since this is supposed to be a guard's shield, it would probably be made as quickly as possible. The blacksmith wouldn't take quite as long on something like this as he might the Jarl's own shield. So this means the painting job would be a little more crude, as evidenced by my reference image at the top of this post. If that's the case, you're likely to see bits of the wood underneath the blue paint too, so that's why it needed that base layer of brown right the way across. Admittedly though, since I knew mostly of it would be covered up, I painted it a bit more quickly in a solid color, somewhat transparently.


In Photoshop, I took the shield reference and blew up the bear design to the approximate size I felt it needed to be for the shield (15.5"x12"), and cleaned it up a bit. I printed it out onto a few pieces of paper, taped them together, then used stencil film on top to cut the design out. Once ready, I taped it onto the shield and painted it.


The final step was to spray some workable fixative on the front to protect the paint job, and sew on the leather handle. And that's about it! It took a while but I really enjoyed the process, and even though using real wood may have been easier so I could skip that whole long ass carving step, the shield benefits from being very lightweight yet still durable. Looking forward to doing more props like this in the future!

Tuesday, October 16, 2012

NYCC 2012

This past weekend I went to New York Comic Con for the first time! It was crazy and overwhelming. But I had fun. Would prefer to return doing the artist alley next year, but had fun nonetheless. I'm going to San Francisco today and I need to get some sleep so this is gonna be a relatively quick post! If you wanna learn more about my perspective on the con as an illustrator, check my other blog.


Waiting for the Yoshitaka Amano panel. Was really cool to see him.


I mentioned all of my highlights as an artist in my illustration blog. But this was one of my cosplay highlights! Getting to meet one of my favorite cosplayers, Vampy! Oh right, my costume btw is a Stormcloak from Skyrim. It's not quite finished yet, but that's what the chain mail was for. I expect to finish this up in November and hope to post a celebration pic for the 1 year anniversary of Skyrim.


We went to Starbucks one morning so I had to get myself a sweetroll based on that Skyrim joke all the guards say.


Kevin went as the Greatest American Hero again, which is funny because most of the popularity of this costume came from an audience of men who grew up with this show in the 80's - even regularly people on the streets of New York outside of the con!


Met up with my buddy Deadpool!


The next day he sported his "Batpool" costume which was really cool! There's Lizz in the shot with him.


Dr. Rockso!


I was really lucky to find these other Skyrim cosplayers cuz there weren't many there. I think it's starting to fizzle out sadly.


This weird guy put a gun to Kevin while he was in his schoolgirl uniform.


Took a few pics of notable things on the show floor too. This scythe is a replica of the one Death uses in Darksiders II. It was hard to get a good pic of with the reflections in the glass.


And Kratos! This was a really cool statue.


Darth Maul made of Legos! The Lego booth was really cool.


And of course lots of cool cars! Like this mystery machine.


Gotta have the Dolorian.


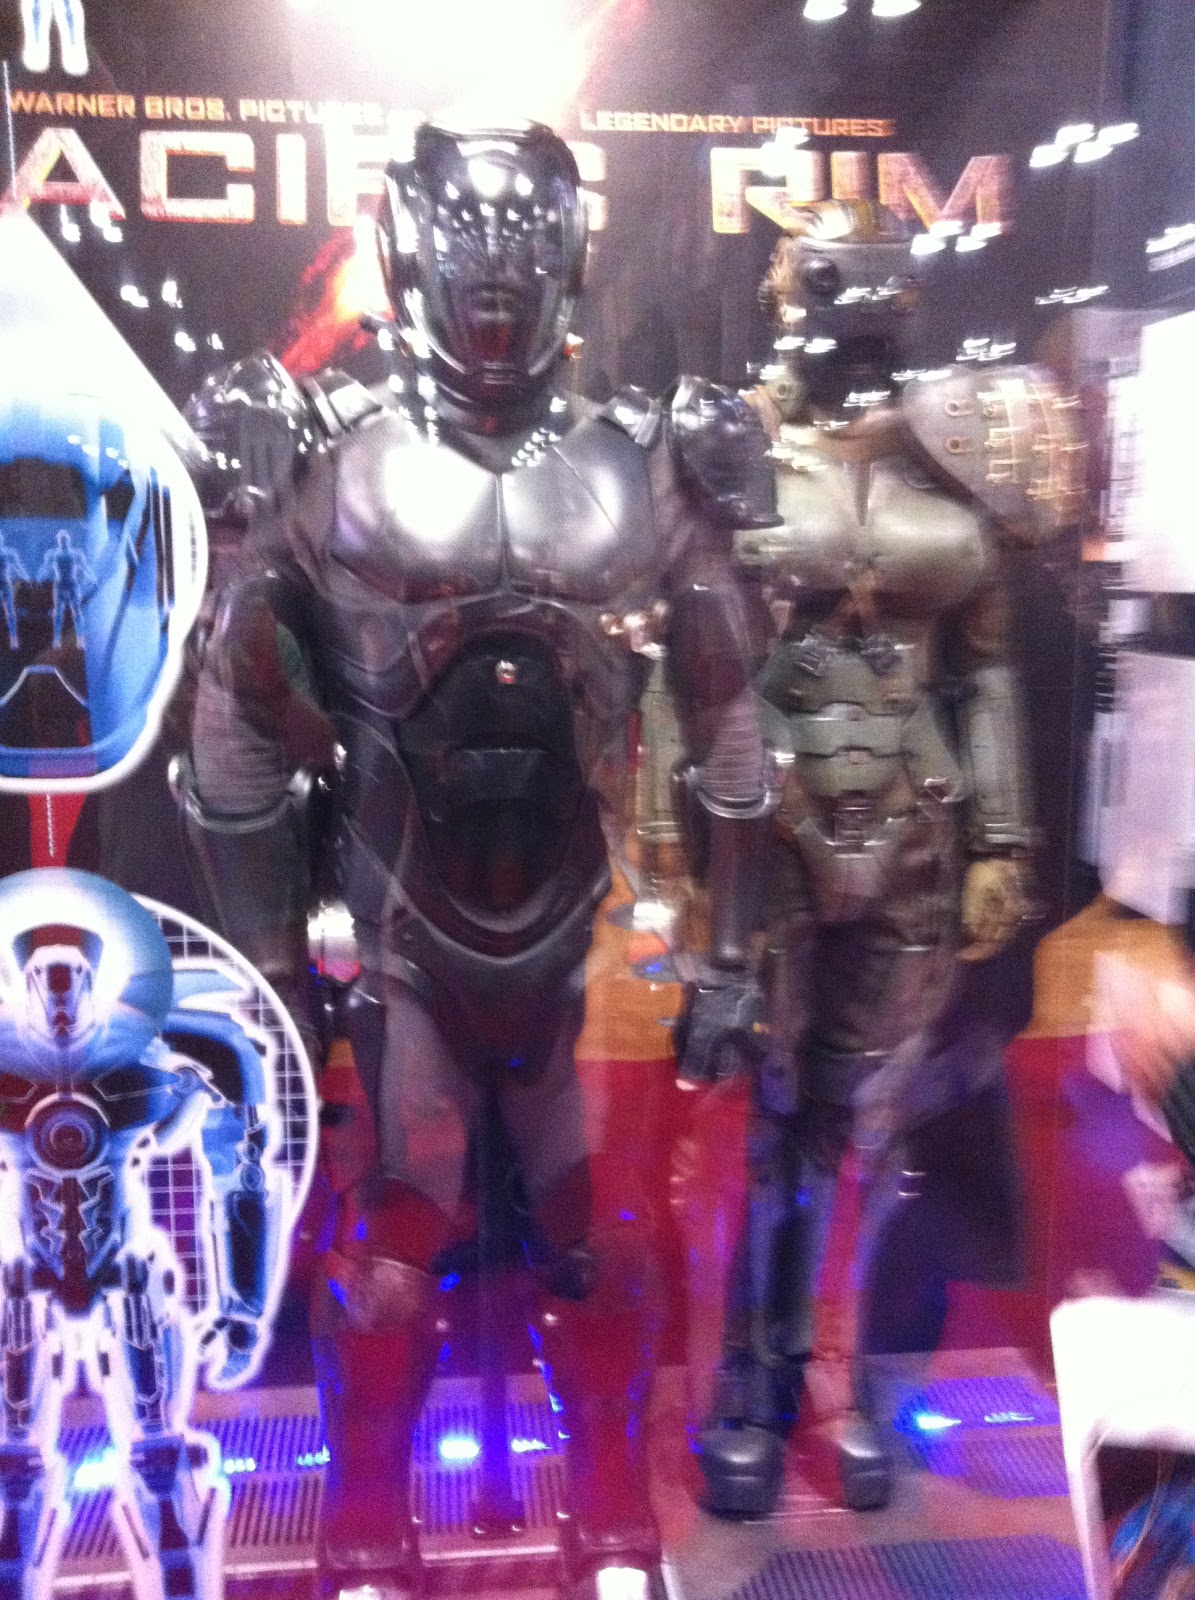
I wasn't familiar with these suits but I thought they looked cool.


I couldn't believe the size of this ad!


And the outside of the convention center with the massive crowd of people flowing into it.

That's all for now! San Francisco calls but I'm excited to resume some costume work in November!